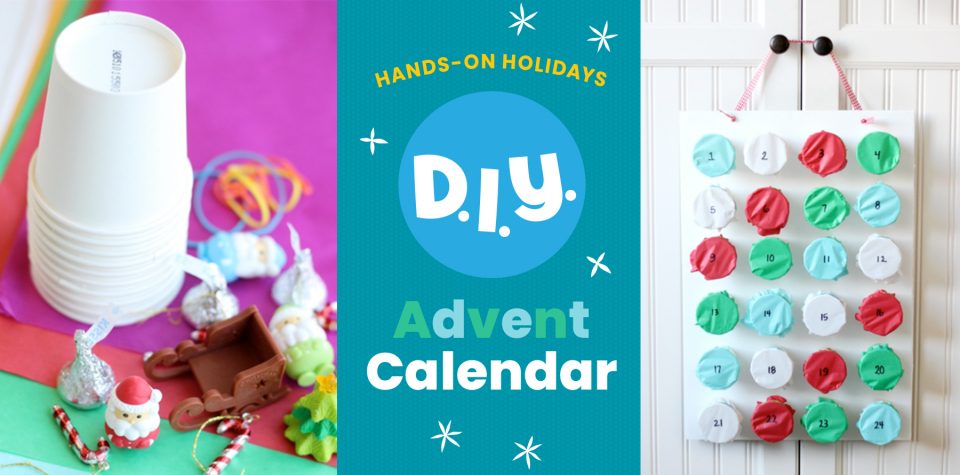
DIY Danish Advent Calendar
Make an easy DIY advent calendar with paper cups and tissue paper. Kids can break open the tissue each day to find the surprise inside!
You don’t need an advent calendar to know that Christmas is coming, but it is certainly a fun way to count down the days. Originally “advent” referred to the four-week period beginning on the Sunday nearest the feast day of St. Andrew the Apostle (November 30) through the following three Sundays. In Denmark, Finland, Iceland, Norway and Sweden there is also a tradition of having a Julekalender (or advent calendar) in the form of a television or radio show, starting on December 1 and ending on Christmas Eve (December 24). Advent calendars are one of my favorite holiday traditions. I had so much fun making this one for my kids this year and it took less than an hour!
Supplies to Make a DIY Advent Calendar
- 4 oz. paper cups
- Tissue paper
- Rubber bands
- Small toys
- Candy
- White craft glue
- White foam board
- Permanent marker
- Ribbon
How to Make a DIY Advent Calendar
Step 1: Place the cups on top of the foam board in rows of 6. Then mark where you want to cut, leaving a couple of inches on each side. I used a box cutter and straight edge to get a nice even cut.
Step 2: Glue cups to the board and let dry.
Step 3: Fill with candy and small toys.
Step 4: Cut tissue paper circles about 1″ wider than the cup rim. You will need 2 pieces for each cup.
Step 5: Label with a permanent marker.
Step 6: Center each tissue circle over the cups and secure with a rubber band.
Step 7: Poke two holes in the top of the foam board (about 1″ from the top) and string with ribbon. You’re done!
