Spark Your Child’s Interest in Science with These Fun Experiments
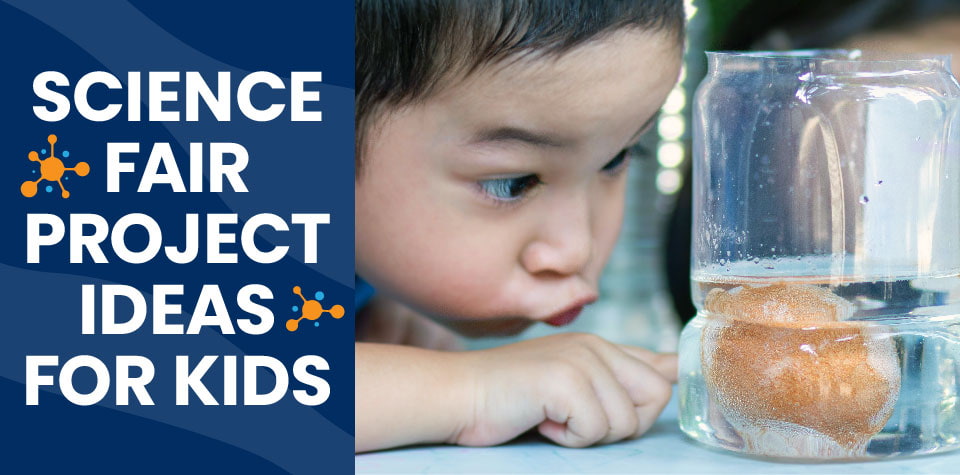
The science fair is an exciting time of year for many kids. It’s an opportunity to practice the scientific method, try fun experiments, and show off an awesome project (complete with a fancy display board). It may happen only once a year, but it can have a lasting effect on children, helping spark their curiosity and their passion for learning.
There are many reasons for your kids to participate in the science fair, but what should their experiment be? Here are a few of our favorite science fair project ideas.

Some Valuable Tips Before You Begin
If the kids in your life are participating in a science fair, so are you! This big undertaking is a lot of fun, but adults should follow a few guidelines. Here are some important science fair tips.
- Let your children do the project themselves. It can be tempting to take over parts of the experiment for your kids—especially when a science fair trophy is on the line. But your kids will learn much more if they tackle the experiment with you as a helpful guide, even if that means things don’t go perfectly.
- Help your kids develop good ideas for science projects with reasonable expectations. Your young scientists might come to you with some “ambitious” science fair ideas. They may want to make a baking soda volcano as tall as they are. They may want to make a fully working robot that cleans their room. The adults’ job is to help kids choose something they can realistically accomplish. Take your children’s enthusiasm and guide it toward an age-appropriate science fair topic.
- Have all the materials ready before you begin. Some experiments are time sensitive, so there’s no time for a quick run to the grocery store if you forget an ingredient. Read the materials list and directions with your kids before you begin experimenting, and help your children make sure they have everything they need ready to go.
- Encourage kids to practice the scientific method by trying their experiment a few different ways and forming a hypothesis (educated guess) about what will happen and why. Does wetter dough change the brightness of the light in their electric modelling clay? Does using different safe acidic liquids, like orange juice or coffee, change how long the rubber egg experiment takes? The sky’s the limit!
Science Fair Project Ideas Your Kids Will Love

Electric Modelling Clay
This craft is a great way to introduce kids ages eight and up to electricity and conductive materials. When salt or cream of tartar blend with a substance, they release ions allowing the substance to conduct electricity. Those two ingredients mixed into this homemade modelling clay will create a circuit, lighting up the LEDs when you run an electrical current through it. Technically, any clay that contains salt will work for this project (a tip for scientists in a hurry), but we think making your own DIY dough is more rewarding. After all, who doesn’t love hands-on science?
Materials
- Mixing bowl
- Measuring spoons and cups
- ¼ cup hot water
- ½ cup all-purpose flour
- 2 tablespoons salt
- ½ tablespoon vegetable oil
- ¼ teaspoon cream of tartar
- Food coloring
- LED diode lights
- A battery pack for two AA batteries (total of 3 volts)
- Wire strippers
Directions
- Children mix the flour, salt, cream of tartar, and vegetable oil in a mixing bowl with a wooden spoon, then slowly add the hot water and the food coloring and continue to stir until the dough starts to solidify.
- Once the dough is cool enough to handle, kids place it onto the work surface and knead the dough until it loses its stickiness. They add flour as needed to help the dough become less sticky or add more water if the dough becomes too dry.
- Kids roll the dough into 2 equal-sized spheres and place them next to each other. (Note: If kids want to give the experiment a little extra flair, use cookie cutters to form different shapes from the dough.)
ADULTS SHOULD PERFORM STEP 4 AND STEP 5
- Press the first lead from the battery pack into one piece of dough. Repeat this step with the second lead in the other piece.
- Spread the LED light’s legs open and place the positive side into the dough piece that contains the red wire. The positive side of the LED is the longer leg. Place the other leg in the dough piece that contains the black wire.
- Kids turn on the battery pack. When done correctly, the salt in the dough will conduct the electrical current, and the LED will light up!
Magical Plastic Bag Experiment
This experiment can help kids ages eight and older learn about the properties of plastic. A typical plastic zipper storage bag is made of a polymer, a substance containing long chains of molecules. These molecules are very flexible and stretchy, so they do some interesting things when you puncture a bag full of water! This easy science fair project is perfect for elementary school students—your junior scientists will be amazed!
Materials
- Plastic zipper storage bag
- Water
- Plastic dishpan or sink
- Sharpened pencils
Directions
- Kids fill the bag about halfway with water and seal the zipper at the top.
- Older kids can do this step independently, but younger kids will need supervision or an adult’s assistance. Hold the bag over a sink or plastic dishpan and poke the pencils straight through the bag, from one side to the other. The bag should form a watertight seal around the pencil, keeping the water safely inside the bag.
- Let your kids try this experiment with as many pencils and in as many ways as they want. Put the pencil in at an angle. Put two pencils close to each other. The stretchy polymer will keep sealing around the pencil, and you shouldn’t spill a drop.
The Rubber Egg
A great experiment for kids ages eight and up, this project introduces children to the wonders of chemistry. One of the coolest things about science is chemical reactions. When two chemicals interact, they can completely change how an object looks, feels, or behaves. And one fun way to demonstrate this phenomenon is with this rubber egg experiment.
Materials
- Uncooked eggs
- White vinegar
- Wide-mouth glass jars
- Food coloring
- Large plates or bowls
Directions
- Children carefully place an egg into each jar (we recommend doing a few eggs in different colors of vinegar).
- Kids pour white vinegar into the jars until the eggs are fully submerged. They may want to write down their initial observations, as the chemical reaction will begin immediately. Bubbles should form on the egg as the vinegar reacts to the calcium in the shell. Kids can add as much food coloring as they like.
- After 24 hours, kids drain the liquid from the jar and refill it with more vinegar.
- After another 24 hours, they drain the vinegar again and gently rinse the eggs in water. The eggs should feel rubbery due to the chemical reaction, and they will even bounce if you don’t use too much force! (We still suggest bouncing the eggs in a bucket or other easy-to-clean space.)

Support Your Young Scientists
We live in a beautiful, awe-inspiring world full of amazing things for your children to explore. These science experiments (and many others) can help kids understand the world around them—and you might even learn a thing or two, too! Remember, the best science experiment is one that inspires your kids. Encourage their natural curiosity by doing science projects for kids that align with their unique interests. Let your aspiring meteorologist make their own weather center. Get your young engineer’s gears turning by helping them learn about hydropower. Give a young botanist different fertilizers and let them determine which offers the best plant growth. Or keep exciting new science experiments coming to their door every month with our Science Junior or Science Expeditions subscriptions. If you find great science activities that spark their attention, they’ll never want to stop learning.

