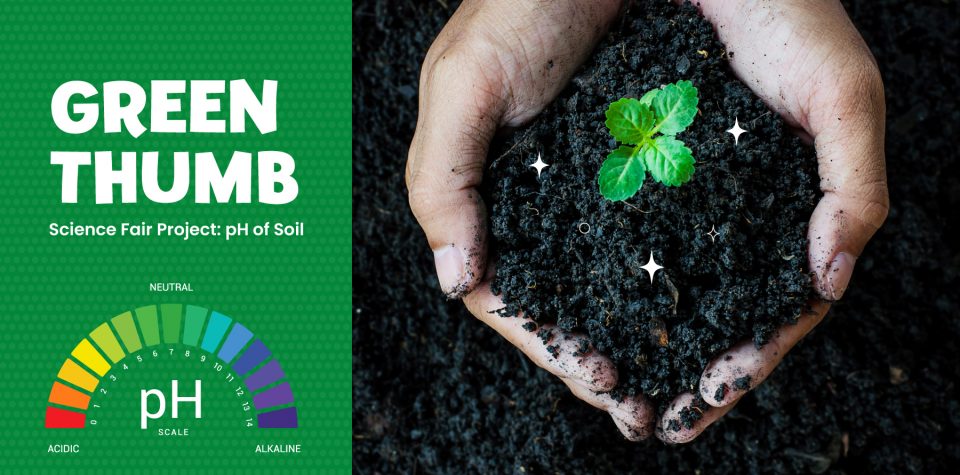
Green Thumb Science Fair Project: pH of Soil
Are you looking for a fun, educational science project for your budding botanist or enthusiastic chemist? If so, this project will teach your child about the effects of pH on plants, and how soil conditions influence growth.
The Effect of pH on Plant Growth
Grade Level: 6–7
Time: Approximately 30 days
Summary: By testing various pH levels, little scientists can measure the height of each plant at set intervals. They will then determine how the pH of water affects overall growth. The main areas of focus are:
- The properties of acids and bases, as well as negative and positive ions
- How different plants prefer different soils
- The possible effects of contamination
- Overall concepts within chemistry and botany
The main question children will need to answer is, “Will the pH of water affect the rate of growth?”
Materials Needed
- A product that allows you to adjust pH levels (check pet supply stores)
- pH testing strips — at least 50
- 7 plastic drinking cups, holding at least 16 ounces
- 7 two-liter bottles, well-washed and empty
- 7 small empty cups (for watering plants without contaminating samples)
- Soil — use the same soil in each cup
- 21 fast-sprouting seeds (such as lima beans, radish or marigold)
- Distilled water
- Ruler
Instructions
Before children embark on this journey, review what pH means — and the idea that water is neutral. Once children understand the pH scale in terms of acidity and alkalinity, they can research plants that prefer alkaline soil, in comparison to acidic.
For example, if they would like to grow roses for their project, this plant prefers acidic soil, whereas lilacs prefer alkaline soil. This can help them form a more accurate hypothesis. Within this experiment, they’ll use distilled water as their control, and water samples with different pH levels as their variables.
Also, it’s very important that all seven cups are within the same conditions of heat and light. The same is true for the amount of water given to each plant.
Here is how to conduct the experiment:
Step 1: Within the two-liter bottles, prepare samples with varying pH values. Leave one sample untreated, as this will be your control (pH of 7). Within the remaining bottles, create a solution that has a pH level of 1, 3, 5, 9, 11 and 13. Cap tightly and label appropriately.
Step 2: In each drinking cup of soil (filled about ¾ of the way), plant three seeds.
Step 3: Label each cup in terms of its matching bottle. It’s very important that each cup is watered by its matching bottle.
- Date height taken
- Cup #1/pH 1
- Cup #2/pH 3
- Cup #3/pH 5
- Cup #4/pH 7
- Cup #5/pH 9
- Cup #6/pH 11
- Cup #7/pH 13
Step 7: Measure each plant (21 in total) to get an average rate of growth for each cup. Each cup will yield an average height based on three plants.
Step 8: Once the experiment is complete, children can graph the points of growth, looking for trends and patterns.
If children enjoy this science project, get them involved in the garden at home!
