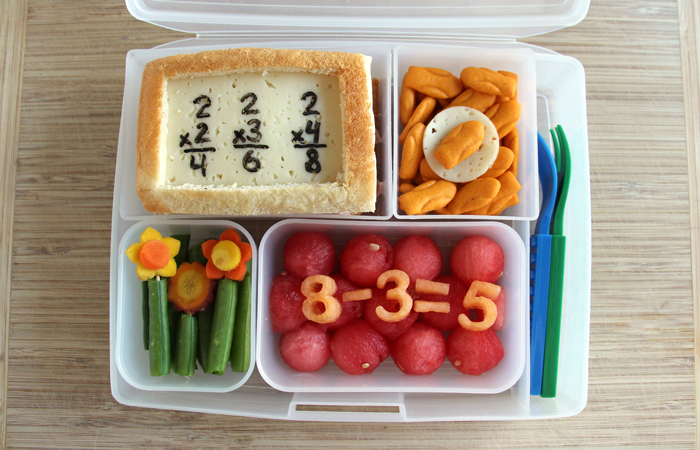
Math and Science Bento Box
Start the new school year off right with a fun lunch that encourages your child’s love of math and science! Kids will love to help prepare this adorable and tasty bento box as they show off their knowledge of astronomy, botany, and math skills.
Bento boxes originated in Japan during the fifth century. The Japanese used to carry compact meals called bento when they would go fishing and hunting. At this time, bento was typically made up of white rice, millets, and potatoes. Today, the bento box is popular in many countries, and the variations are endless!
Now, let’s get to making our back-to-school bento!
Ingredients
- watermelon
- cantaloupe
- sugar snap peas
- multi-colored carrots
- sandwich bread
- sliced harvarti cheese
- sliced ham
- rocket-shaped cheese crackers
Supplies
- divided lunch box
- small number cutters
- small flower cutters
- toothpicks
- small circle cutter
- black food coloring marker

Step one: Have your child choose a math equation. It can be addition, subtraction, multiplication, or division depending on their grade level. Cut a thin slice from the cantaloupe (about ¼ inch thick) and use the number cutters to cut numbers for the equation.
Step two: Add a layer of watermelon balls to one of the larger containers in the lunch box. Place the canteloupe numbers on top of the watermelon to spell out the equation.
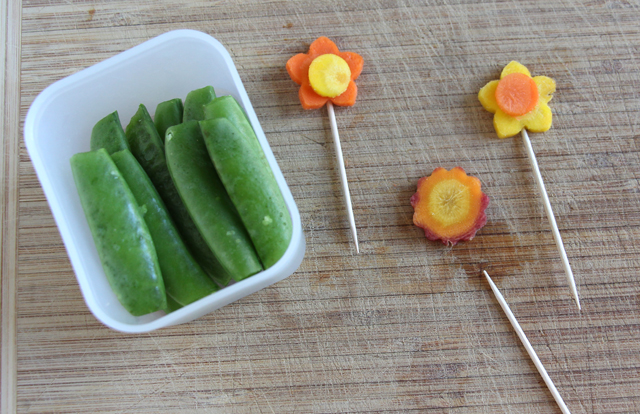
Step three: Layer some sugar snap peas in the bottom of one of the smaller containers. Cut slices from the widest end of the carrot and use small flower cutters to create decorative shapes. Carefully insert toothpicks into the side of each carrot flower.
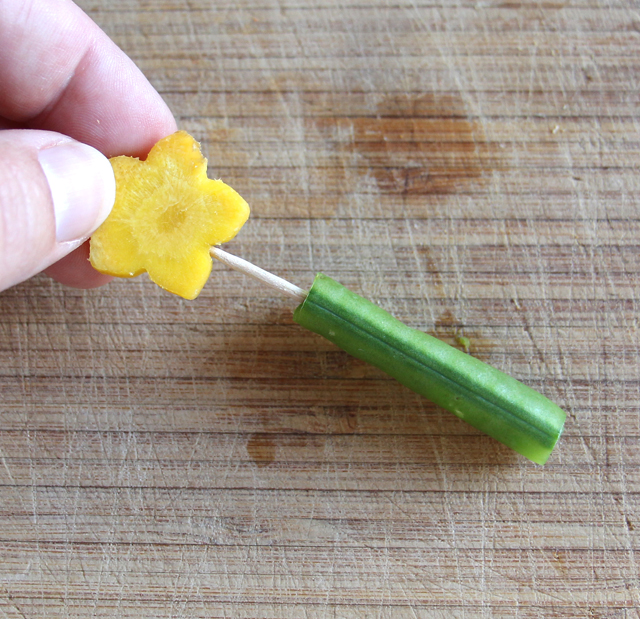
Step four: Thread a sugar snap pea onto each toothpick to make the flower stems. Trim the pea pods and toothpicks if necessary. Layer the flowers on top of the other snap peas.

Step five: Add a handful of the rocket crackers to the second small container. Use a circle cutter to cut a “moon” from a slice of the Havarti cheese (swiss cheese works well for this too, because the holes look like craters!). Add the moon to the crackers, then top with another rocket cracker.
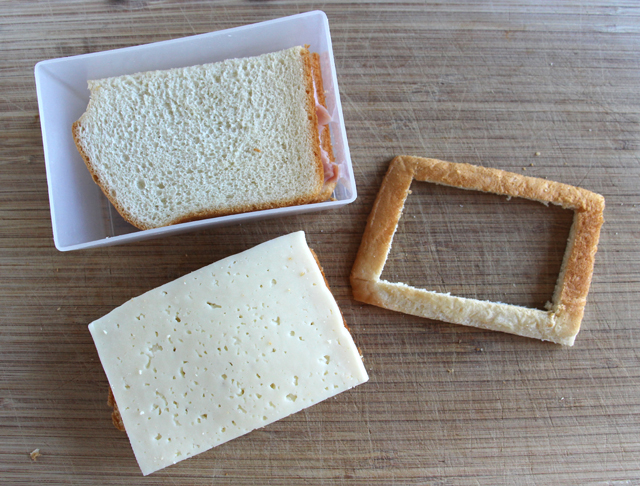
Step six: Make a sandwich using cheese, ham, and any veggies or condiments your child likes. Place the sandwich in the remaining container.
Step seven: Trim another slice of cheese to fit the dimensions of the container. This will be a classroom “whiteboard.” For extra credit, you can also make a frame for the whiteboard by trimming the end-slices of the bread to the same dimensions as the cheese slice and then cutting out the middle.
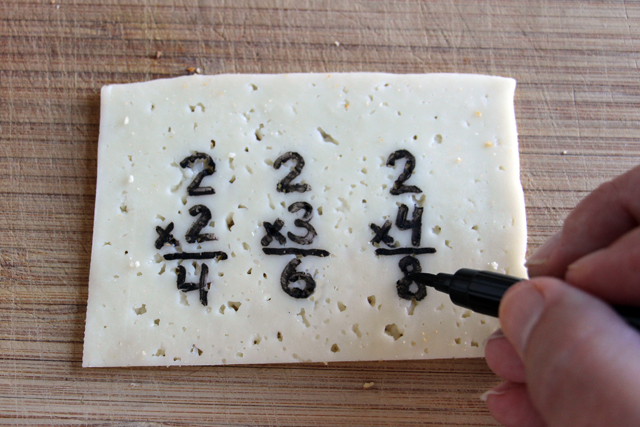
Step eight: Write a few math problems on the cheese using a food-coloring marker. This step is perfect for your child to do!
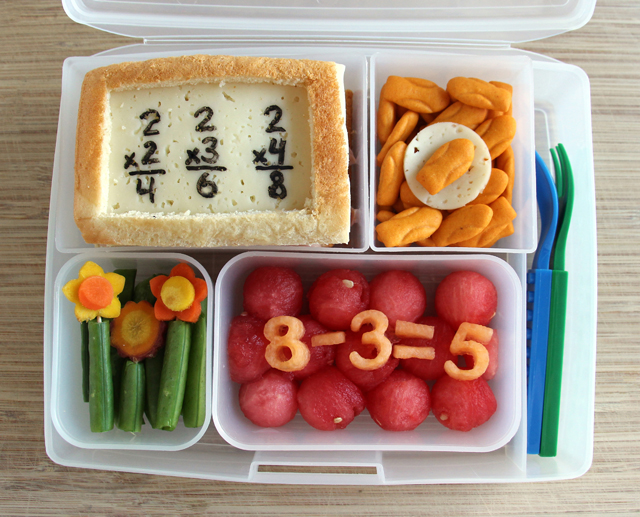
Step nine: Put all the small containers inside the lunch box and pack it up for a fun lunchtime treat!
