Back to School Bento Box!
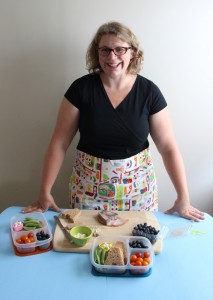
Blogger Wendy Copley is one creative mom! Even with two boys, she finds time to cook, write, and craft and the artistic juices don’t stop there. Every day, she packs creative and healthy lunches for her sons with themes ranging from holidays to cute critters. Wendy has created a back-to-school spread just for Little Passports! Read on for her step-by-step instructions.
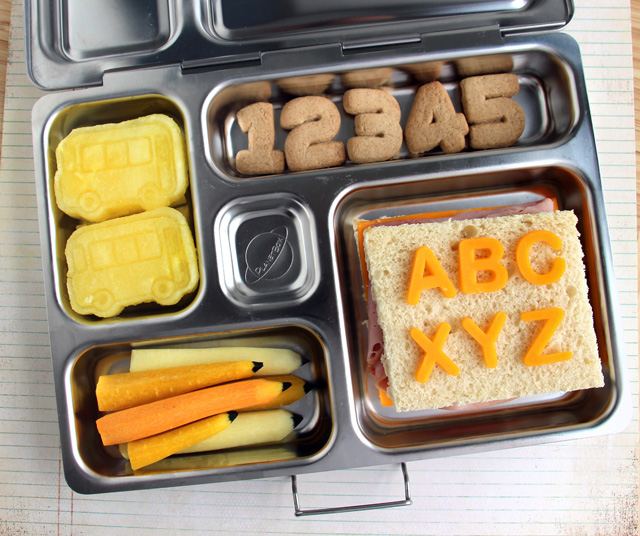
Celebrate the first day of school with this cute and creative lunch for your child. Lots of fun touches will inspire them to keep working on their ABC’s and 123’s long after the mid-day break has ended!
Ingredients:
- yellow watermelon (cantaloupe would work well too)
- carrots
- sandwich bread
- ham
- cheddar cheese slices
- condiments
- number (or alphabet) cookies
Equipment
- divided lunch box
- bus cookie cutter/stamper
- paring knife
- vegetable peeler
- black food-safe marker
- small alphabet cutters
Putting it together:
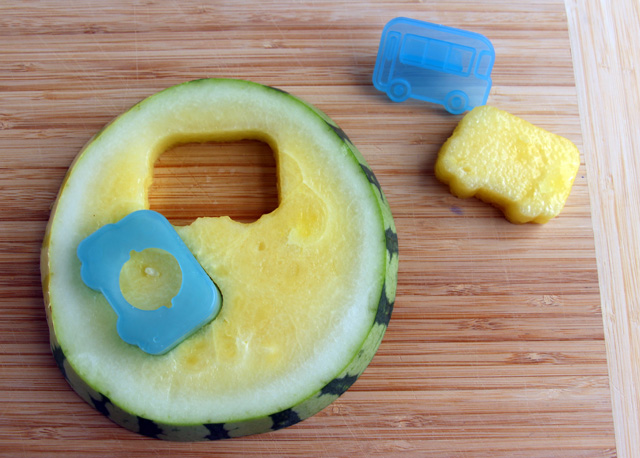
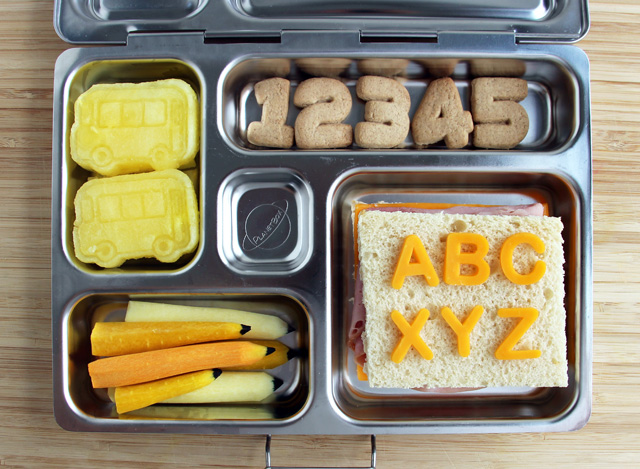
Cut a 3/4 inch slice from a small yellow watermelon. Use the outer portion of the bus cutter to cut two bus shapes.
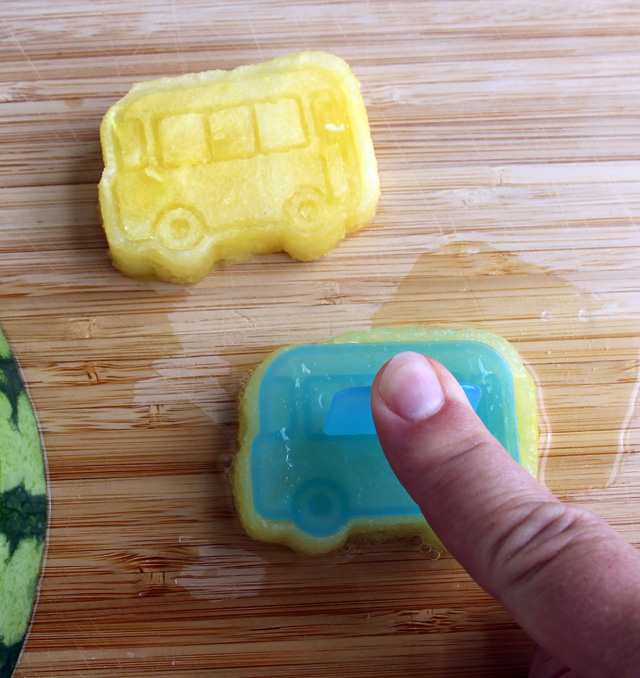
Stamp a bus design onto the melon with the inner stamping portion of the bus cutter.
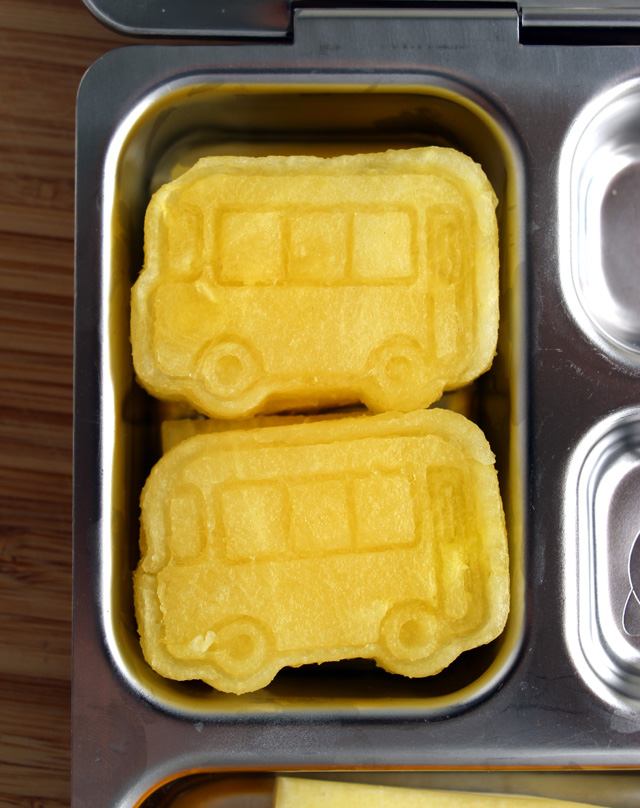
Cut the rest of the watermelon slice into chunks, put them in a single layer in the lunch box and place the decorated pieces of melon on top of them.
Next we are going to make carrot pencils. Cut a few carrots to fit inside one of remaining sections of the lunch box. I used yellow ones from a bag of rainbow carrots that I found at my local supermarket, because I thought they looked especially pencil-ish. But orange carrots would work fine, too!
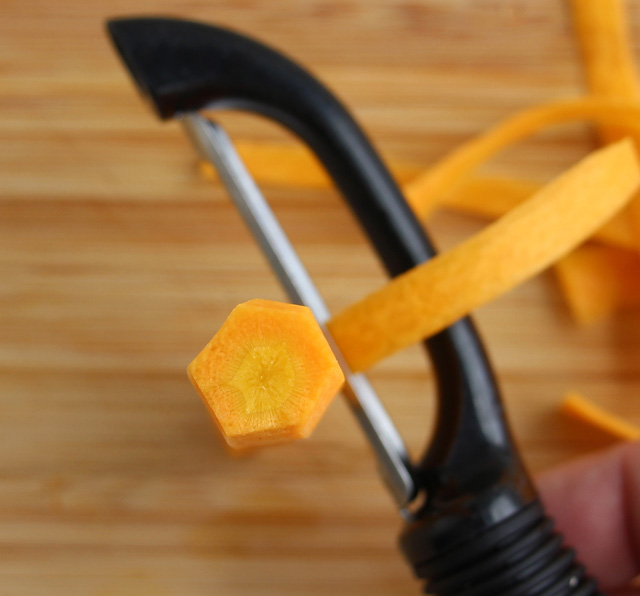
Use the peeler to cut flat surfaces the length of the carrots. I found it worked best if I went over each section two or three times.
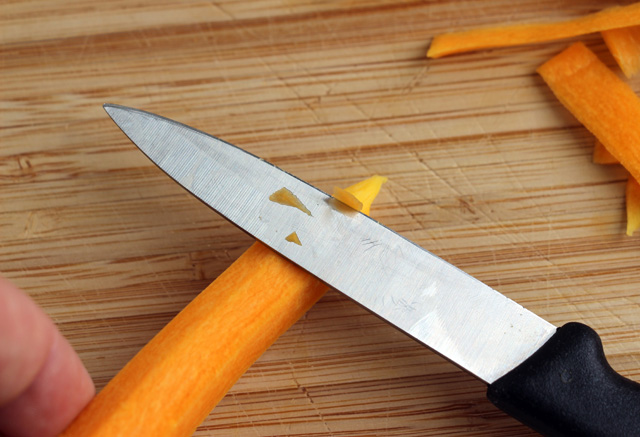
Use the paring knife to cut the tips of the carrots into a cone shape that resembles the tip of a pencil.
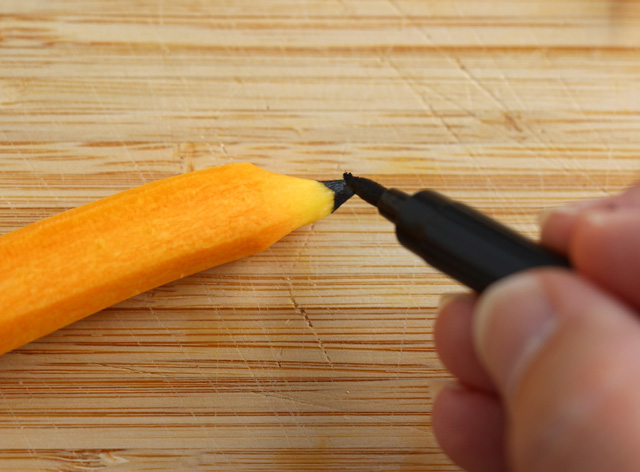
Finally, color the sharpened tip of the carrot with the black food-safe marker to make it look like a pencil lead.
Repeat with the remaining carrots and add them to the lunch box.
Next we’re going to make a quick “white board” sandwich. Back in my day, all the classrooms had black boards, but that’s totally retro at my kids’ school. Now all the rooms are equipped with whiteboards and colorful markers!
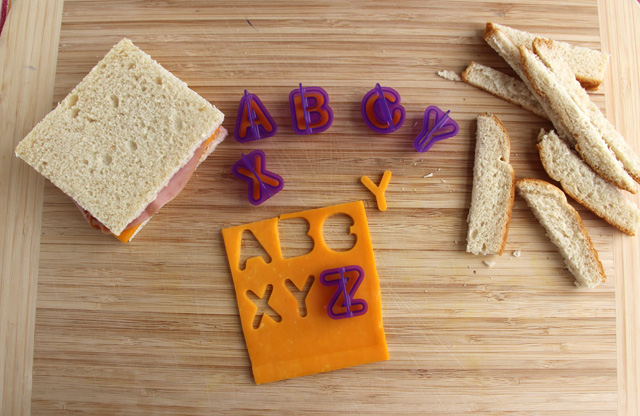
Cut a couple slices of white sandwich bread into a rectangle. This is mostly a matter of cutting the crusts off. If you are worried about the food waste, you can throw the crusts into a zip-top bag and put it in the freezer to make breadcrumbs with later.
Assemble the sandwich using the ham, a slice of cheese and any condiments you’d like, and put the sandwich in the largest section of the lunch box. Use the alphabet cutters to cut out “ABC” and “XYZ” (or any other message you’d like), then put a dab of mayo or mustard on the back of each one and attach them to the top of the sandwich.
Tip: If you have trouble getting the cheese out of the tiny cutters, you can ease it out gently with the tip of a toothpick.
Finally, add a few cookies shaped like numbers to the last section of the lunch box, and you’re done!
Want to see more posts from Wendy? Check out below!
Creative Lunches for Kids with a French Twist!
After receiving her first bento box as a Christmas gift, Wendys love of crafting unique and eye-catching lunches took off. Ever since, she has perfected her style and continues to make tasty bento boxes every day. This March, she released her book, Everyday Bento: 50 Cute and Yummy Lunches to Go which is full of tutorials on how to make your own creative lunches at home! Check out more of her healthy lunch ideas: http://wendolonia.com

