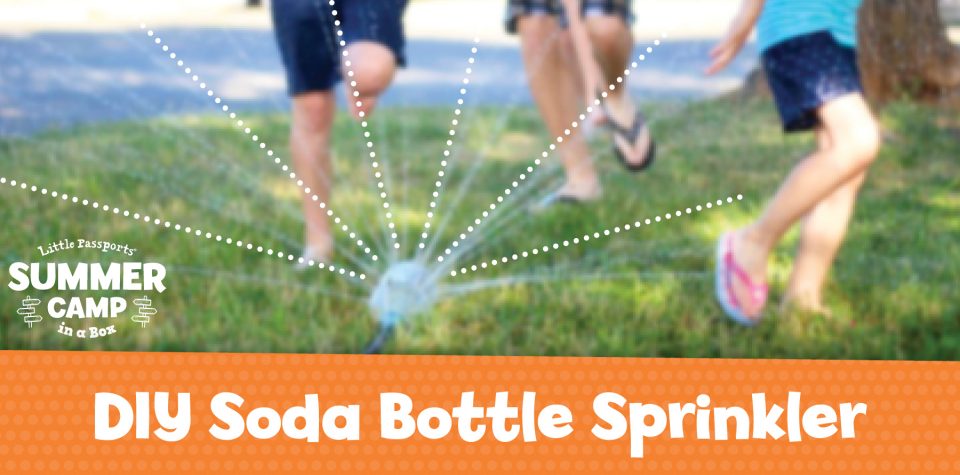
DIY Soda Bottle Sprinkler
I bet you didn’t know that you could have this much fun with a 2-liter bottle and some duct tape!
Our family is living in an RV as we make our way across the United States from California to Virginia! Living in an RV as a family of 7 has actually been pretty awesome. It’s cozy, has all of the amenities we’d want (except for laundry), and has allowed us a ton of family time. One thing we don’t have is a ton of room for the kids to run around!
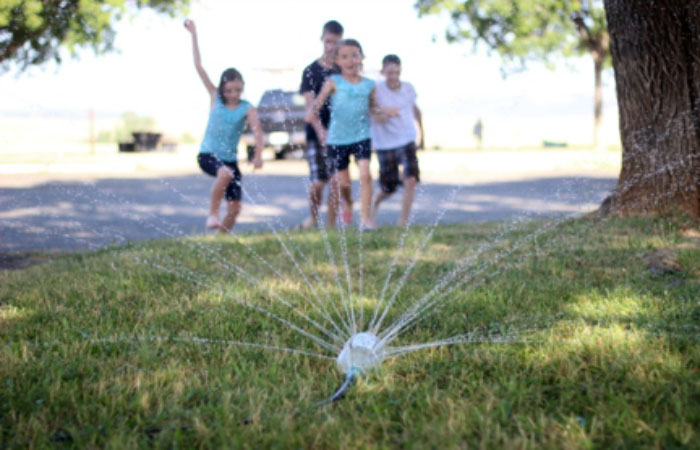
This means lots of outdoor time. They’ve spent their afternoons climbing trees, riding scooters, and floating in paddle boats on the lake. We decided to make a sprinkler out of a 2-liter soda bottle, not expecting to get a ton of water pressure out of it, but we were wrong!
This awesome little sprinkler has entertained our kids for hours!
Here’s how to make your own soda bottle sprinkler.
Supplies
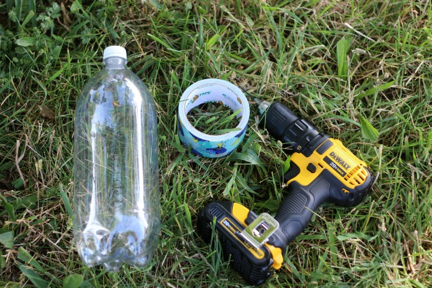
- 2-liter soda bottle
- Duct tape
- Hand drill with small drill bit
- Hose
Make the soda bottle sprinkler
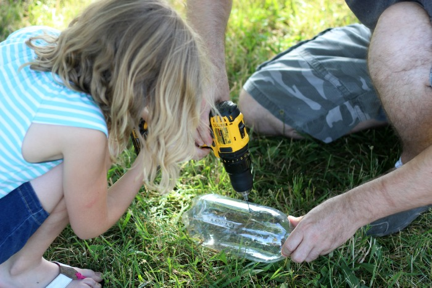
Rinse out the soda bottle and drill holes with a small drill bit. We kind of eye-balled it and went in rows along the top. There is no need to drill holes where the bottle will be set against the ground, and too many holes would decrease water pressure.
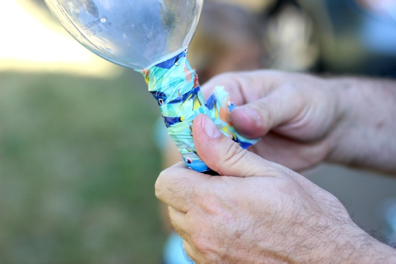
Make sure your bottle opening is dry. Use a piece of duct tape to attach the bottle to your garden hose.
Add a bit of water to give it some weight so that it doesn’t flip over when you turn up the hose.
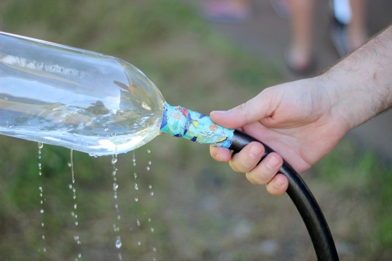
Place sprinkler on the ground and crank up the hose!
If your kid thought this hands-on project was fun, they’ll be sure to love our Science Junior subscription where they can build hands-on projects every month!
