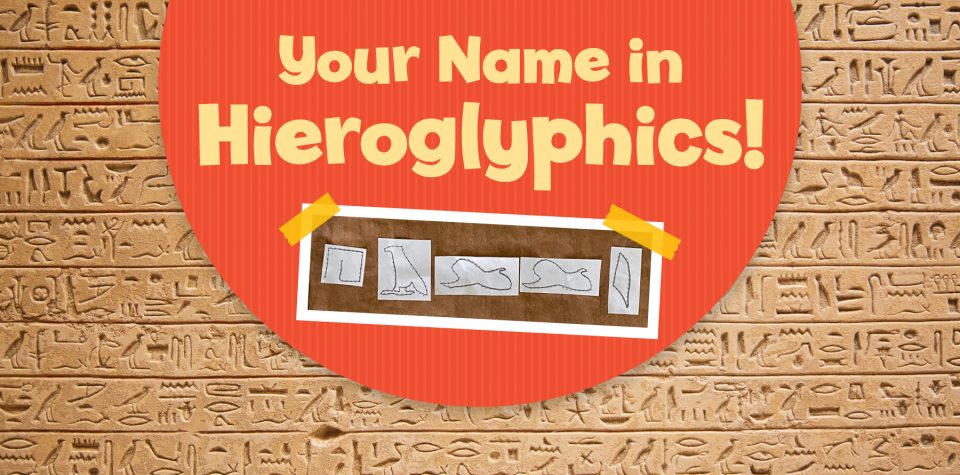
Create a Papyrus Scroll with Hieroglyphics
Hieroglyphics are a form of writing from ancient Egypt in which pictures were used to represent different objects, actions, sounds, or ideas. There were more than 700 hieroglyphs, which is a fancy word for the characters of the ancient Egyptian alphabet!
Ancient Egyptians used hieroglyphics to record ideas about important events and their religion. The Egyptians often carved hieroglyphics into stone or painted them on the walls of tombs. They also wrote hieroglyphics on papyrus, which was an early form of paper that Egyptians made from a plant called Cyperus papyrus. Fun fact: Did you know the word “paper” comes from papyrus?
In this hands-on hieroglyphics activity for kids, your child can create their own name scroll with hieroglyphics. First, they’ll make papyrus using common household supplies. Then, they’ll form their name using hieroglyphics that represent the English alphabet. Enjoy this hieroglyphic art activity and celebrate the written language of ancient Egypt!
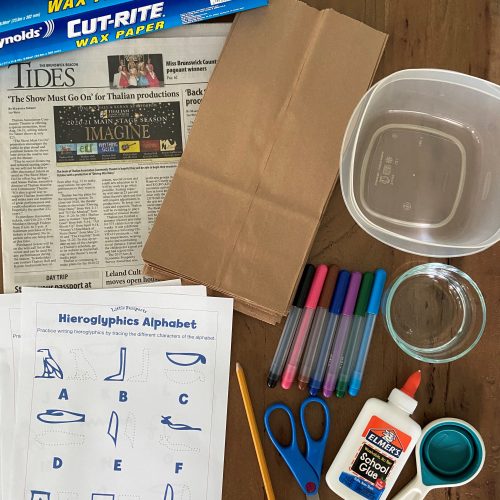
Supplies
- 1-2 brown paper bags
- Bowl or container
- Wax paper (12” x 12” square)
- Newspaper (to cover work surface)
- ¼ cup water
- ¼ cup white glue
- Scissors
- Markers
- Hieroglyphics Alphabet printable
- How-to-Draw a Sphinx printable (optional)
How to Create Your Name Scroll with Hieroglyphics
Step 1:
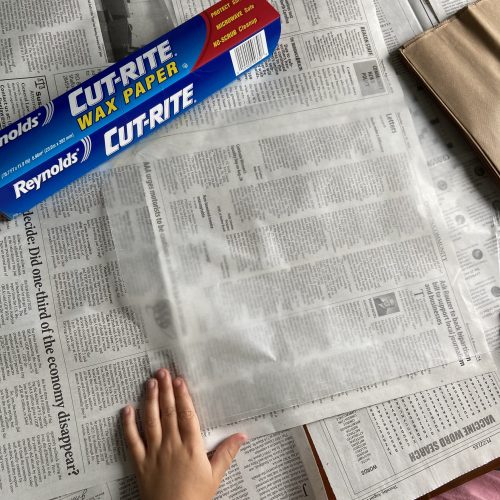
Cover your work surface with newspaper or head outside for easy cleanup. Lay down your 12” x 12” piece of wax paper.
Step 2:
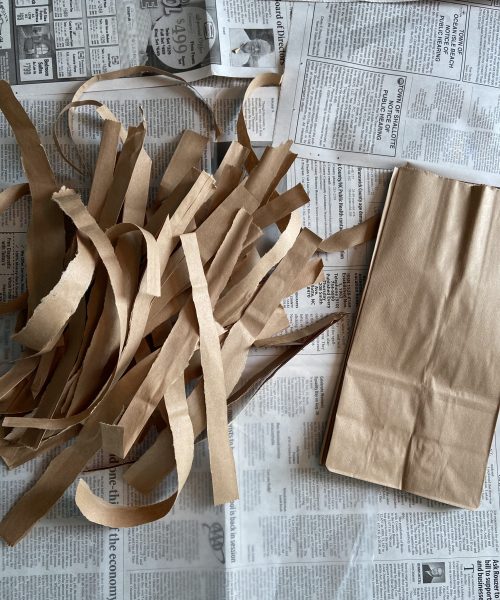
Tear brown paper bags into long, thin strips that are about ½” wide.
Step 3:
Mix ¼ cup water and ¼ cup glue together in a bowl or container.
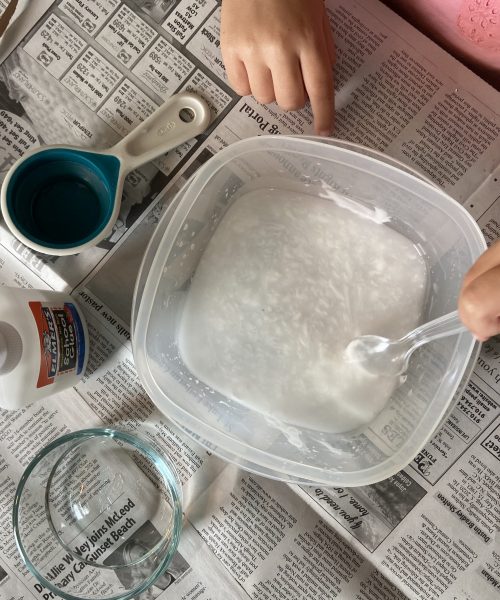
Step 4:
Dip each brown paper bag strip into the water and glue mixture so they are fully soaked. Run the strip between two fingers to remove extra glue so the pieces aren’t too goopy!
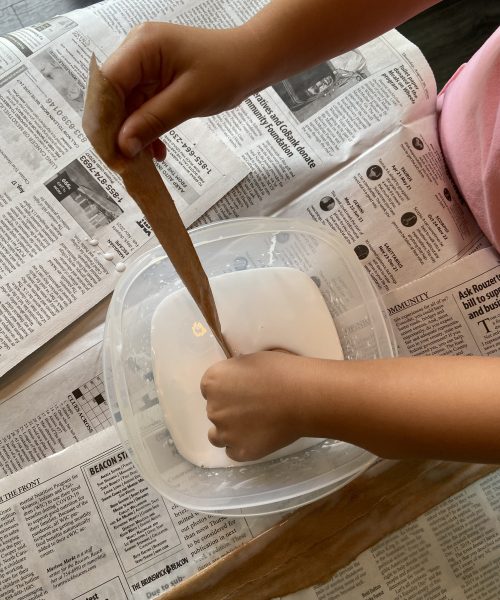
Step 5:
Lay each paper strip side by side on the wax paper with their edges overlapping slightly. Remove any bubbles or extra glue by smoothing them out.
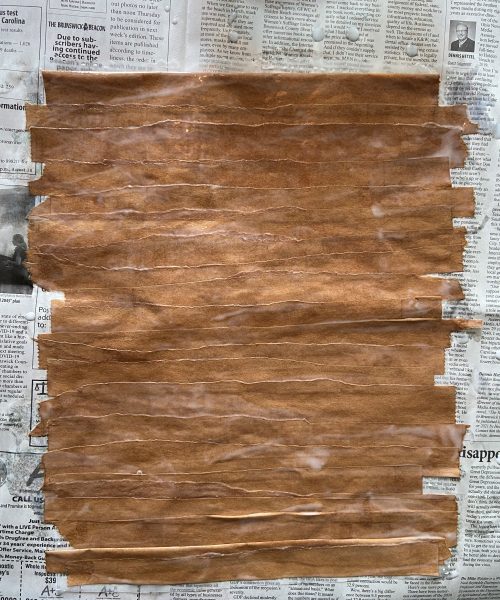
Step 6:
Air dry your papyrus for 8–10 hours. Once it’s dry, peel the wax paper away. To cut down the drying time, try taking your project outside!
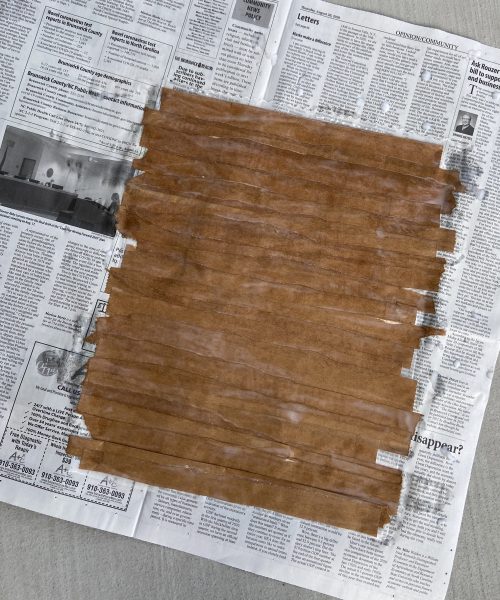
Step 7:
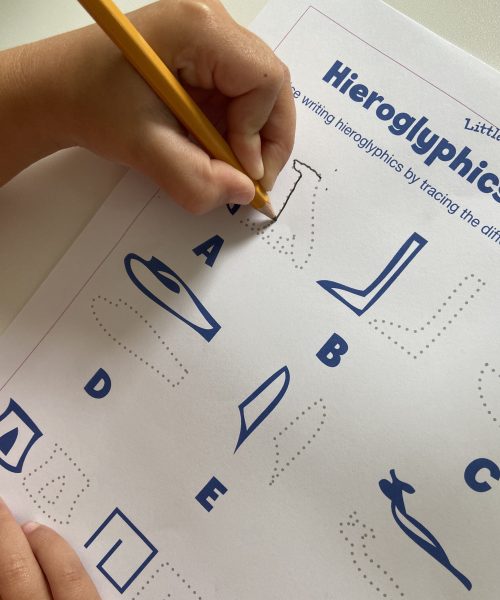
While you wait for your papyrus to dry, it’s time to explore ancient Egyptian hieroglyphics! Practice tracing hieroglyphics with this Hieroglyphics Alphabet printable. Then, identify which symbols you’ll need to write your in hieroglyphics.
Step 8:
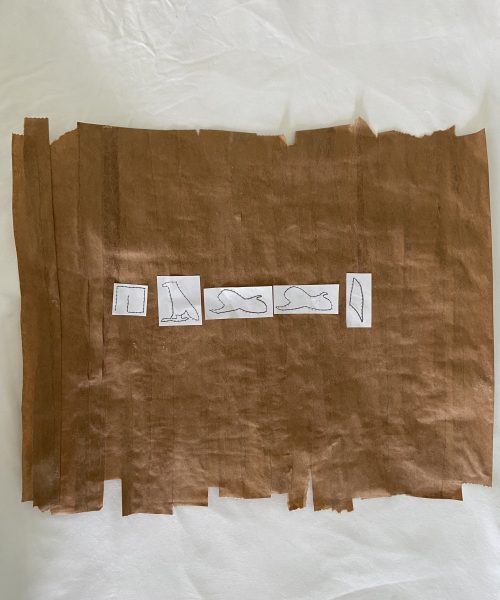
Now that you’re an expert at writing hieroglyphics, you can freehand draw the hieroglyphic letters of your name onto the scroll (or you can cut out the traced letters from the printable and glue them on). If your name has some repeated letters, try freehand-drawing the hieroglyphic letters (or making an extra copy of the printable)!
Step 9:
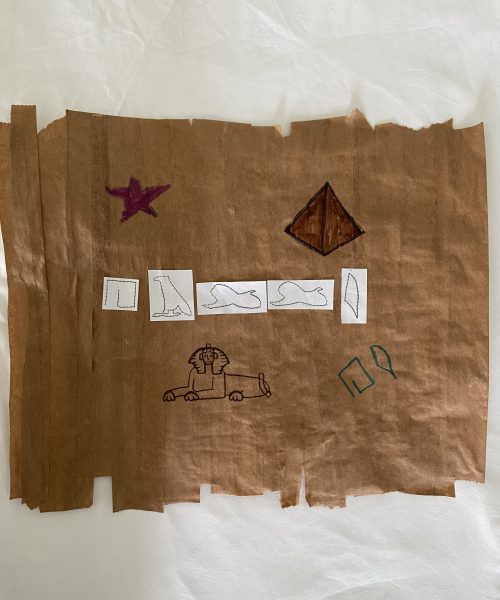
For some added fun, use markers to decorate your name scroll! Include additional words or phrases written in hieroglyphics, or use our free How-to-Draw a Sphinx printable to learn how to draw Egypt’s most famous mythical creature.
Step 10:
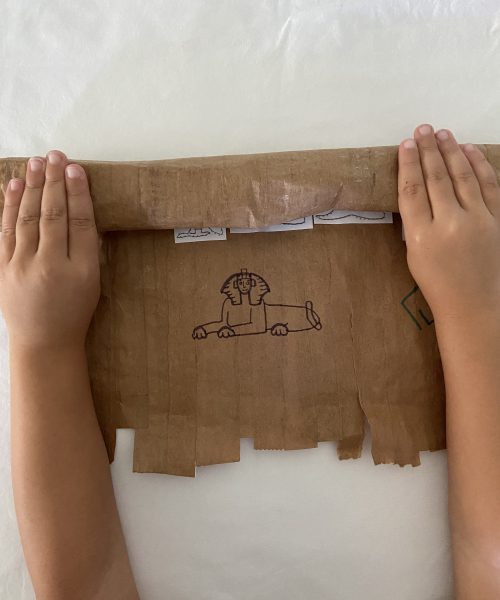
To roll your papyrus into a scroll, put your hands at the top corners of the papyrus. Roll the paper towards you and stop halfway. Then, put your hands at the bottom corners of the papyrus and roll the paper away from you. Stop when the rolls meet each other in the center.
Bring on the history!
Why were hieroglyphics created?
The ancient Egyptians thought it was important to write things down. So they invented a form of writing called hieroglyphics. The word hieroglyphics comes from the Greek word hiero, which means “holy,” and glyphics, which means “writings.” So hieroglyphics means “holy writings.” The ancient Egyptians used these hieroglyphics to record and explain their world and events, all of which were closely intertwined with their religion.
How did the ancient Egyptians make papyrus?
Papyrus paper was made from the Cyperus papyrus plant, a common grass-like plant that was native to river banks and marshy areas. Ancient Egyptians took the stem layers from the plant and sliced them into thin strips, just like you did with your brown paper bags! Then, they laid them out in rows, dampened them, and pressed them together into a sheet. The plant’s sticky, glue-like sap held the strips together. Lastly, they left them out in the sun to dry! To have more space for writing, drawing, or painting, the ancient Egyptians would paste papyrus sheets together to form larger sheets.
If your child loves learning about new countries and cultures, check out our World Edition subscription, which features a different country every month, including Egypt! Shop here.
